


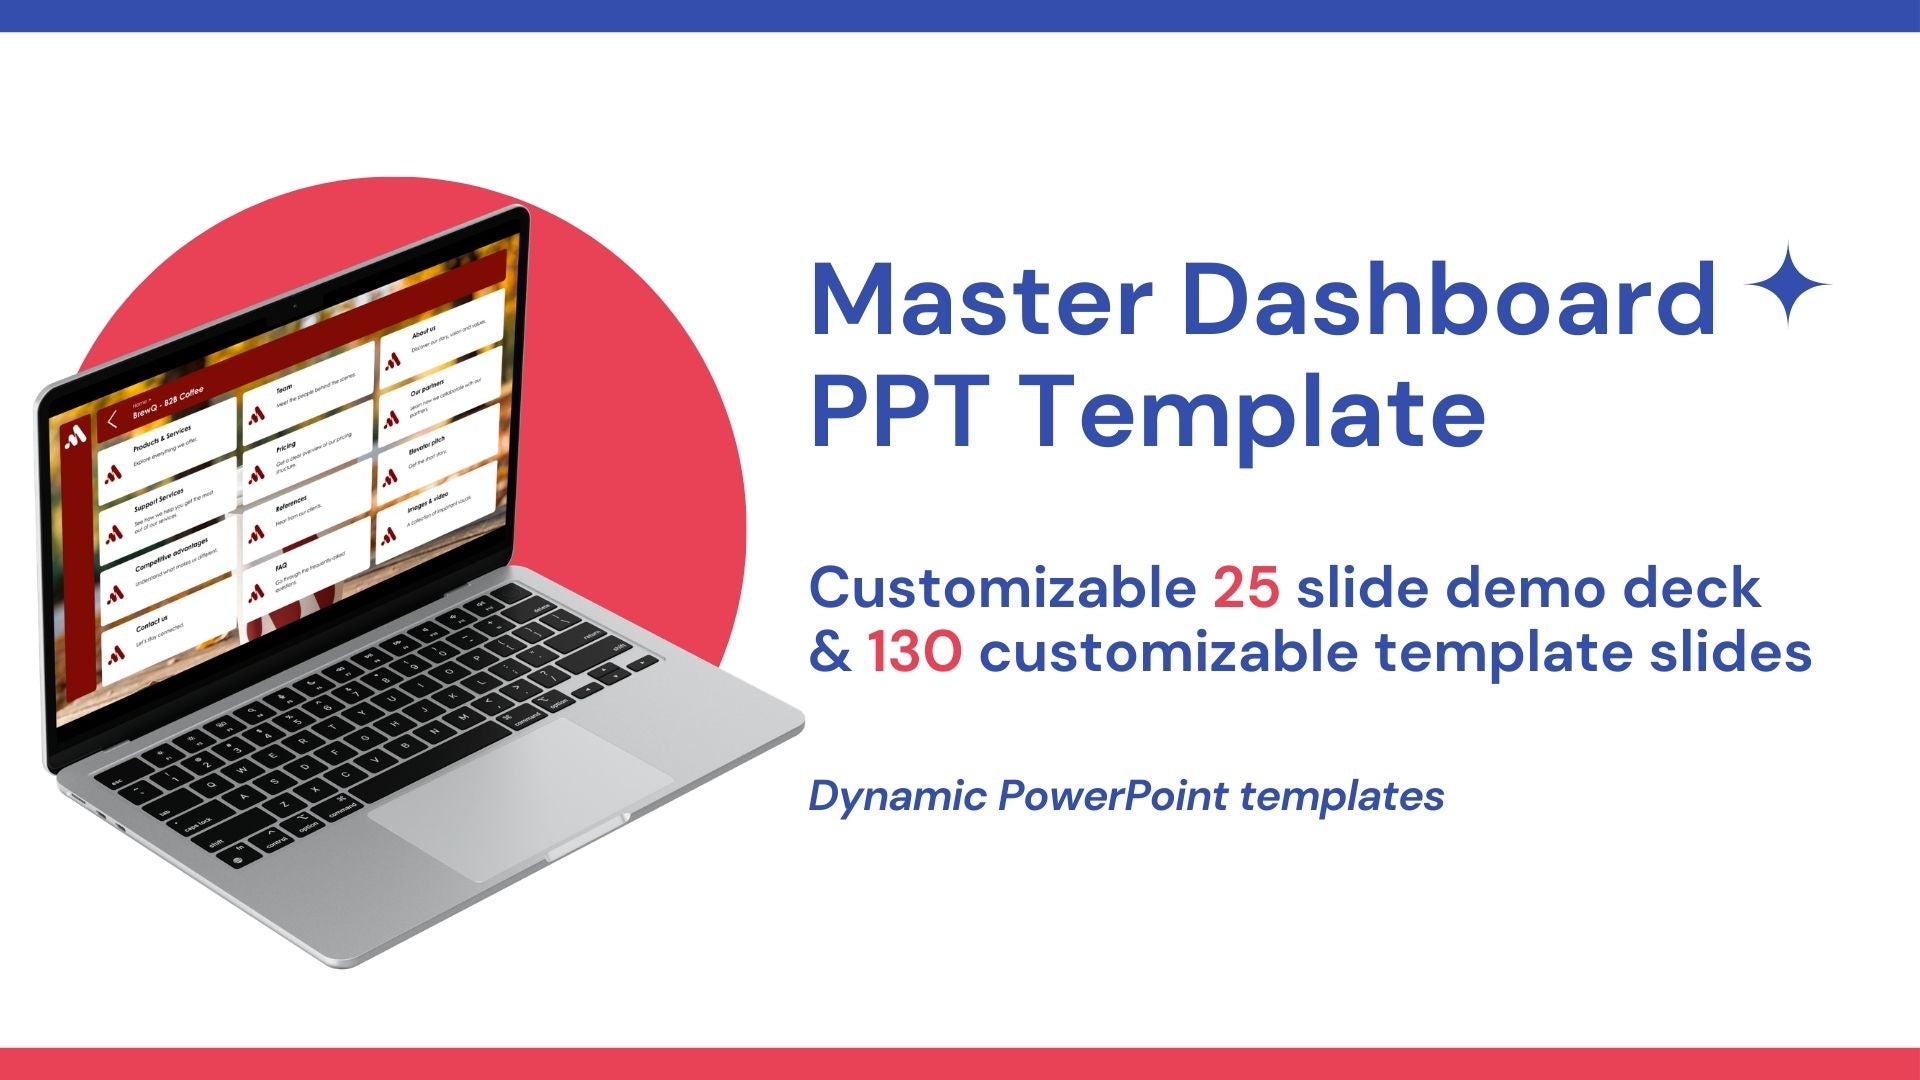


Tiledekk templates are built for interactivity and flexibility, but the real power comes when you make the slides your own. Here’s a step-by-step tutorial for customizing the templates.
Step 1: Open Your Template and Review the Slides
- Open your Tiledekk template in PowerPoint.
- Explore the dashboard/home slide and all prebuilt sections.
- Identify sections you’ll need for your presentation (e.g., Overview, Product, Pricing, Case Studies).
Step 2: Add Your Brand Identity
- Replace placeholder logos with your company logo.
- Adjust colors to match your brand guidelines using Design → Colors → Customize Colors.
- Choose fonts consistent with your brand.
This ensures your presentation feels professional and on-brand.
Step 3: Customize Tiles and Navigation
- Edit tile labels to match your content (e.g., “Pricing” → “Enterprise Packages”).
- Update tile colors or shapes if needed for clarity.
- Ensure every tile links to the correct slide using the steps in our seperate tutorial on linking slides.
Step 4: Populate Slides with Your Content
- Replace placeholder text with your own story, numbers, and messaging.
- Swap images with relevant visuals or screenshots.
- Use charts or graphics to communicate key metrics effectively.
Tip: Keep text concise and visuals clear for better engagement.
Step 5: Rearrange Slides as Needed
- Drag slides to reorganize the order within a section.
- Add new slides if necessary; Tiledekk templates are modular, so new slides integrate easily.
- Remove slides that don’t fit your story.
Step 6: Test Interactive Links
- Click each tile in Slide Show Mode to confirm it navigates correctly.
- Test returning to the dashboard from every section.
- Ensure that navigation feels intuitive for someone unfamiliar with the deck.
Step 7: Add Subtle Branding Elements
- Add consistent footer text with slide numbers or confidentiality notices.
- Consider using subtle animations or transitions to guide attention.
- Ensure consistency across all slides.
Step 8: Save as Your Master Template
Once customized, save your template as a new PowerPoint file. This allows you to reuse your branded, interactive deck for future presentations.
Step 9: Practice Your Interactive Flow
- Run through the deck multiple times.
- Practice jumping between sections as if answering audience questions.
- Adjust links, tiles, or content as needed.
The more familiar you are with the interactive flow, the more confident your delivery will be.
By following these steps, your Tiledekk template becomes a fully customized, interactive sales or business presentation that supports dynamic conversations, keeps your audience engaged, and boosts your confidence.
