


PowerPoint is often used linearly: slide 1, slide 2, slide 3… But real conversations don’t follow a script. You need flexibility to jump to the right slide when your audience asks a question or wants to explore a topic in depth.
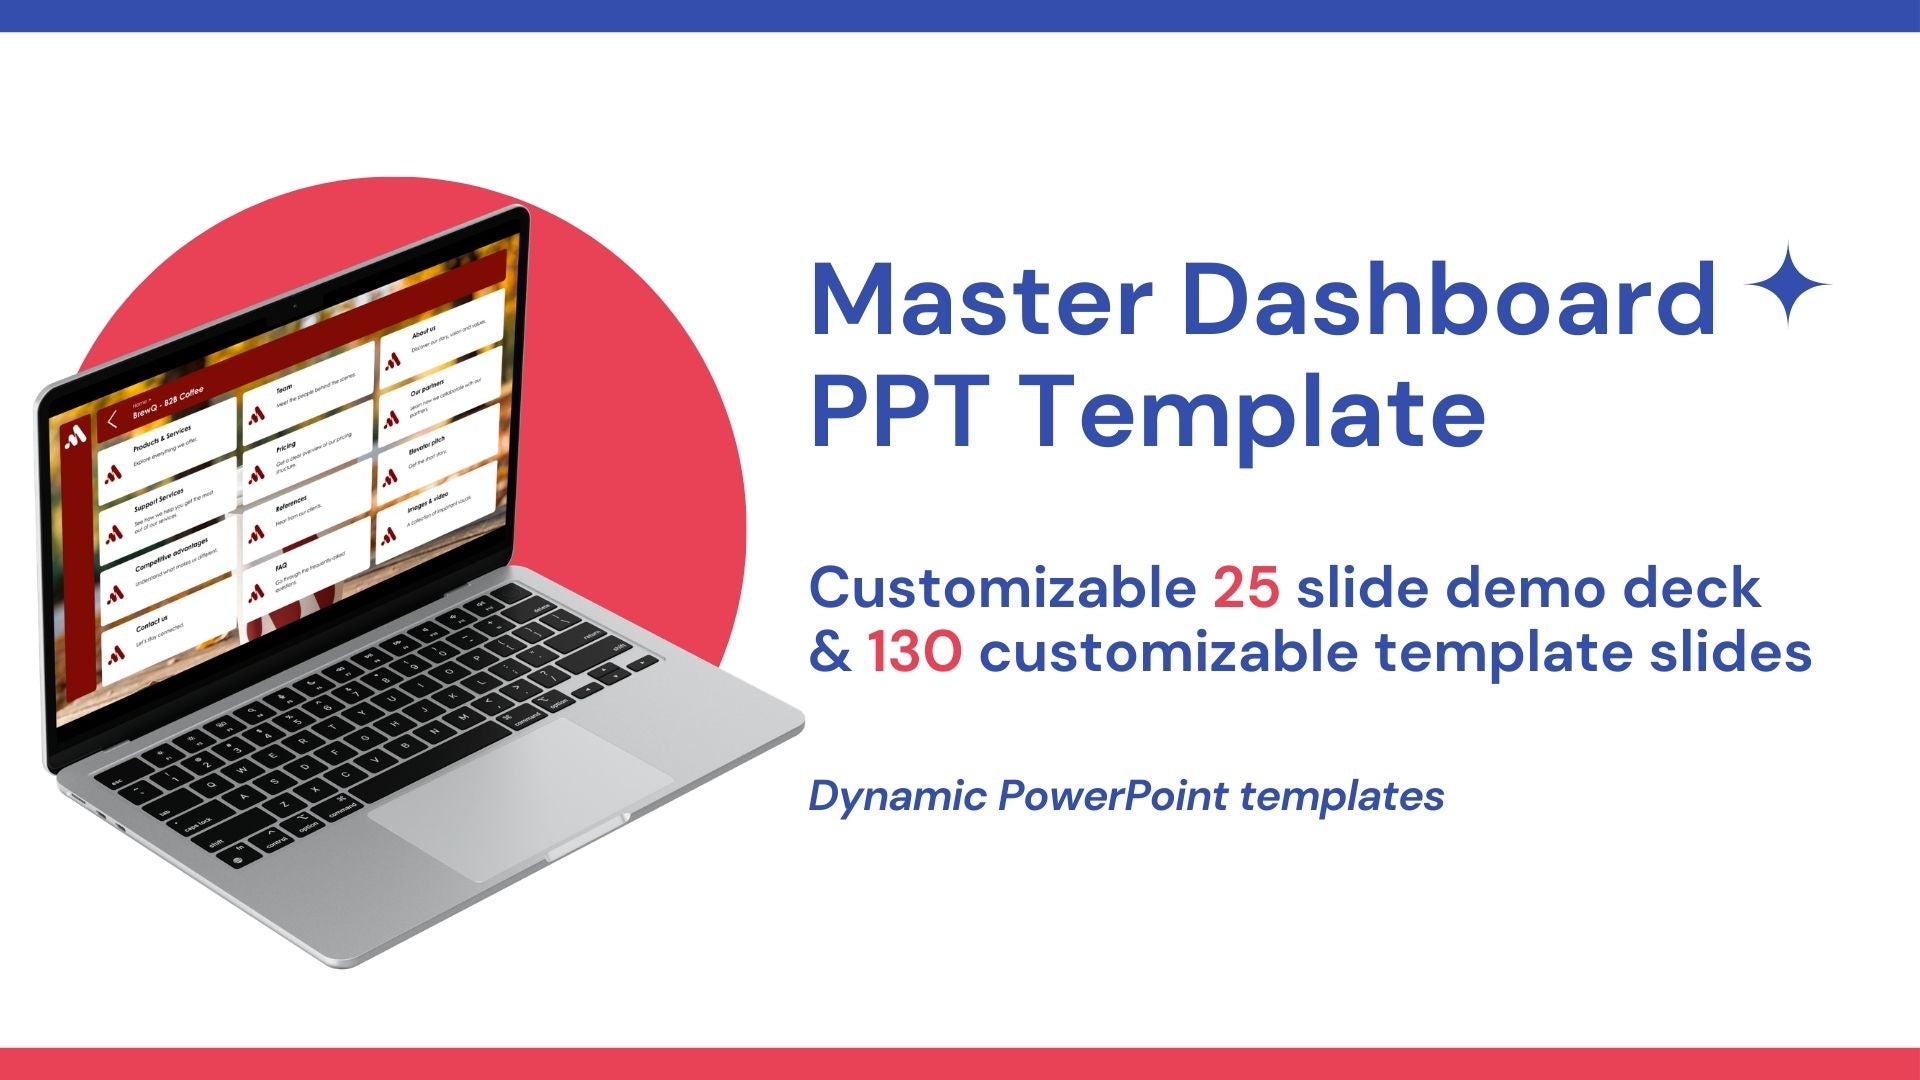
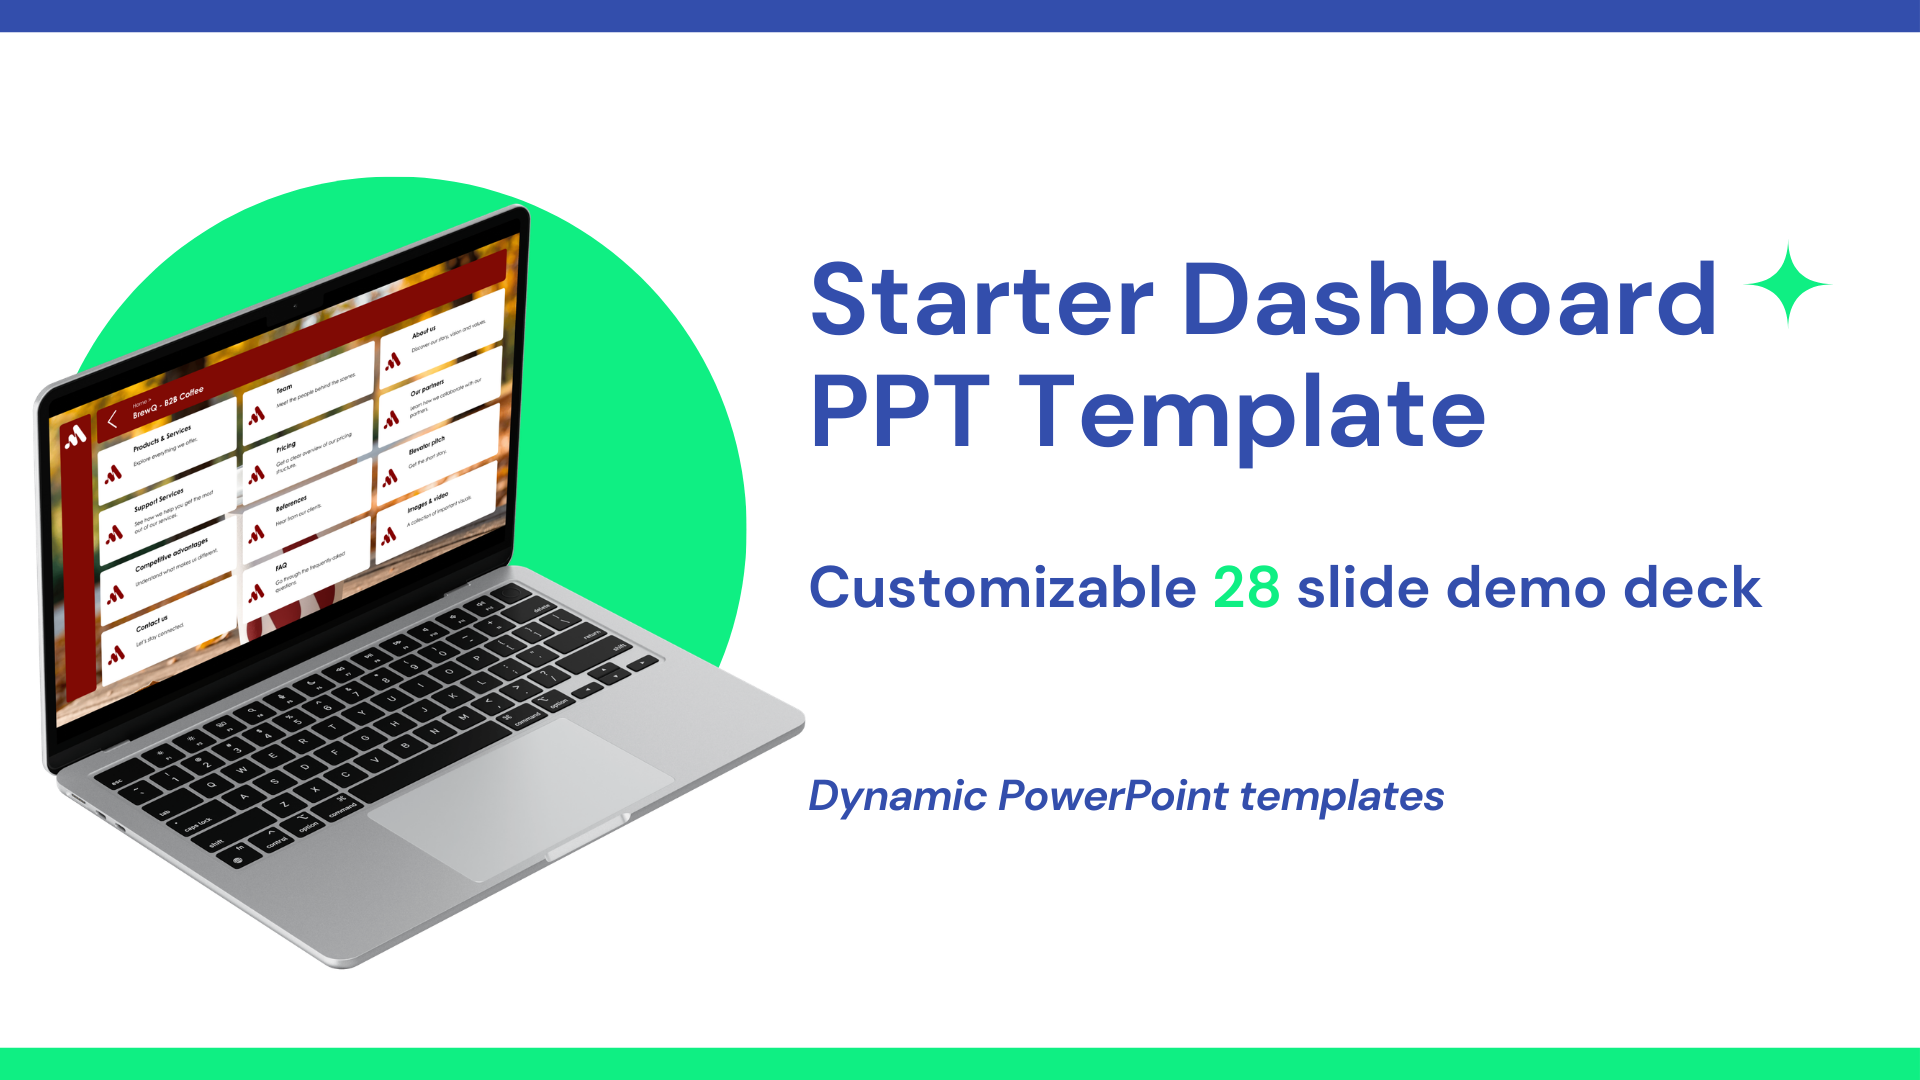
Creating an interactive PowerPoint is easier than it sounds. One of the most effective methods is using clickable tiles that act as buttons to navigate your deck. You can make use of Tiledekk's dashboard templates, and customize it from there. Here’s a practical, step-by-step guide on how to link your tiles to different slides.
Step 1: Prepare Your Slides
Before adding links:
- Create all the slides you’ll need in your presentation.
- Group slides by topic or section (e.g., Overview, Product, Pricing, Case Studies).
- Keep in mind which slides might be accessed from where. If you want more help with this, you can visit our tutorial on creating a sitemap for your PowerPoint.
Step 2: Use Tiles for Navigation
Tiles are simple shapes that serve as clickable buttons within Tiledekk.
- You can simply create them by going to Insert → Shapes.
- Choose a rectangle or rounded rectangle.
- Draw the shape where you want the clickable area to be.
- Style the tile: add color, border, or text (like “Pricing” or “Case Study”).
Tip: You can copy+paste the tile where you put your text in, and place it over your existing text. Make it transparent and add the link to it. This way, you can click your tile wherever you want without the text interfering.
Step 3: Add Links to the PowerPoint tiles
PowerPoint allows you to link any shape, text box, or image to a slide:
- Select your tile.
- Right-click and choose Link (or Hyperlink → Place in This Document).
- Choose the slide you want the tile to navigate to.
- Click OK.
Now, when presenting, clicking the tile takes you directly to that slide.
Step 4: Add a “Return to Dashboard” Link
For interactive decks, you often need to return to a central navigation slide:
- Select or create a “Home” or “Dashboard” tile on each slide.
- Link it back to your central dashboard slide.
- Test the links to ensure smooth navigation.
Step 5: Test Your Interactive Flow
Once all links are in place:
- Enter Slide Show Mode.
- Click each tile and confirm it goes to the right slide.
- Jump around like a real conversation to ensure everything feels natural.
Step 6: Tips for Smooth Interaction
- Keep tiles consistent in style and size.
- Avoid overlapping tiles unless they navigate to the same slide.
- Group tiles by topic for clarity.
- Use subtle hover effects to indicate interactivity.
By following these steps, you can create a fully interactive PowerPoint where you control the flow of conversation, not the slide order. Using Tiledekk’s dashboard templates, the process becomes even easier: all tiles are pre-designed and ready to link, letting you focus on your story instead of layout.

